
You are on the right post to know the answer of how to create a WordPress website. Before making a WordPress website, first of all it is important to know why the WordPress site is used. WordPress is the easiest platform to create a free open source and dynamic website sites. 41% of the world’s websites use WordPress. World Press has pre built plugins and websites themes layouts. You can easily create your own blog or website through WordPress. For which you will not need any designer or developer, if you follow the steps given by us and in this way you can save a lot of money.
Creating a website is quite challenging, but believe it is not as difficult as it is in today’s time, we will tell you to build a WordPress site from scratch here, with which you will be able to create your own blog very easily. Here I will tell you such a way to create a WordPress website, by which I have also created my own website and believe me this will definitely be the easiest way to create a website which is not available anywhere else on the internet.
We need to make a website –
Here I am going to tell you the method by which you will run your WordPress site by making it local first, that means you will setup your site locally, this will ensure that you have your local website before going to the live web site. But you will get the convenience of doing testing and if you want to analyze anything by looking at your site, then first of all you will do local testing on your site so that your live site will not be affected if any error comes. This is very easy way to create error free WordPress website.
Here is a step by step tutorial on creating a WordPress website. Just follow the given steps and in the end you will have a great WordPress website ready. I promise you will enjoy making this so let’s get started.
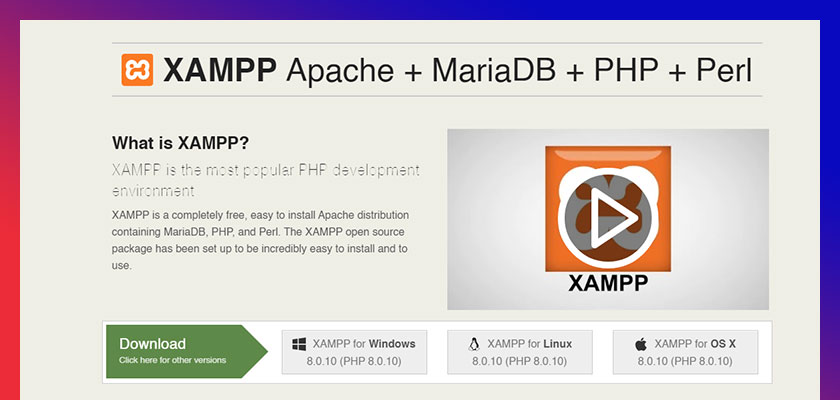
Go to the official website of XAMPP server and download the given file depending on the operating system of your system. Xampp Server is cross-platform and easy to use local server, you can use it for Windows Linux or Apple’s operating system. Click on the given download link as per your operating system to download the setup file of the server software.

Click on the downloaded setup file and open it. Here you will be asked information on which drive to install. Enter the path of the drive you want to put it in. Click Next and install the server on your computer. When the software will be installed, in the last you have to click on finish, now your local server is ready.
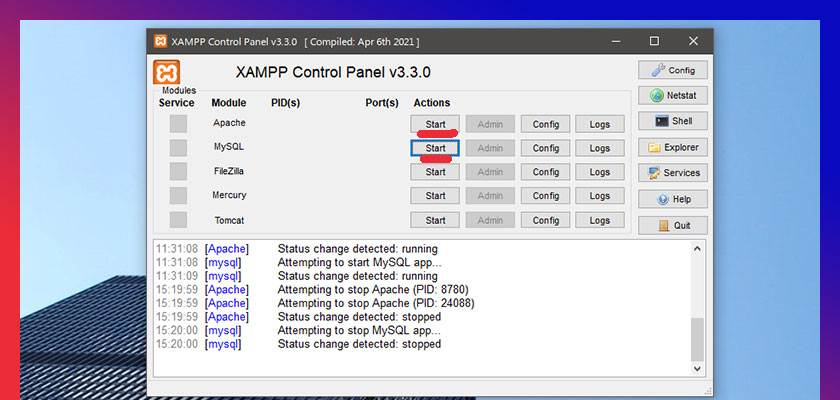
Open the drive on which you installed your local server, there you will see a folder named xampp, open it by clicking on it. Various types of files and folders will show in this folder, out of which you have to click on the xampp-cntrol.exe file, which will open a screen to turn on the XAMPP server. By clicking on start button your local server will be run.
Then you have to open your browser and go to the address bar and type localhost. After typing this, you will see the screen shown below.

Now your localhost is ready.
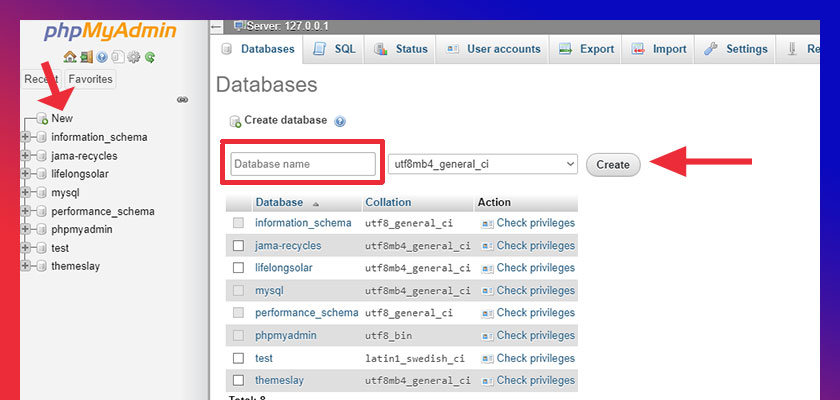
WordPress website requires a database to store data. To create a database go to localhost/phpmyadmin on your browser address bar. Click on “New” and give it a name then click on “Create” to finish the process. Note down the database name somewhere as it will be useful for building the site later.
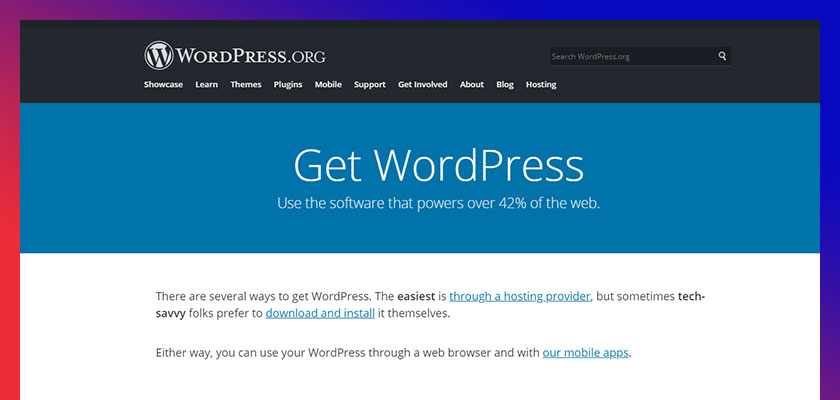
To install WordPress on localhost, first you have to download WordPress, here we are giving a link to the official website of World Press from where you will be able to download WordPress for free.
Now copy the downloaded WordPress zip file inside the htdocs folder and then unzip it. After this you rename this folder according to the name of your website.
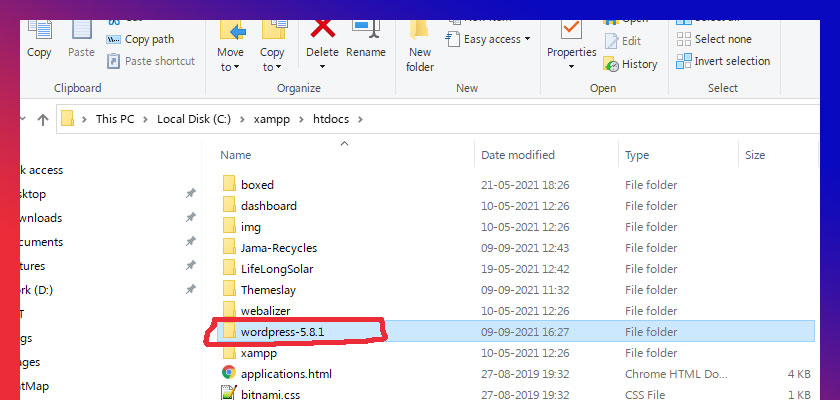
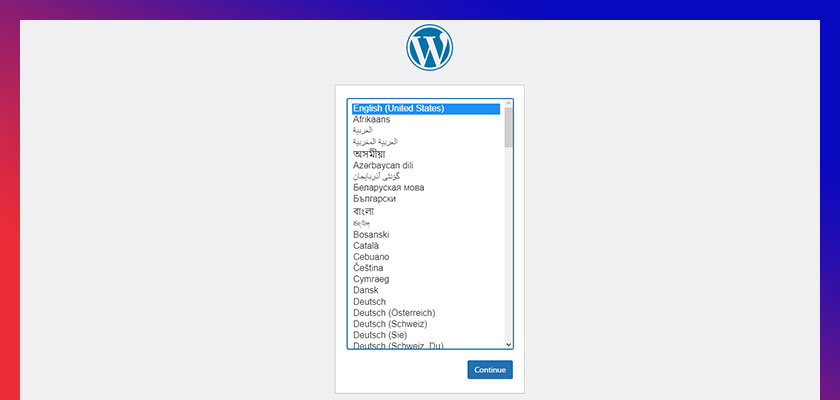
You go to the address bar of your browser and type localhost/wordpress (whatever you named your website)and press enter. To install WordPress on localhost do a few more actions. Select language and click “Continue“.
Click on “Let’s go!” button on the below page.

This page requires the name of the database that you created earlier in step 3 above, enter the username and password as shown in the screen and click on submit.

Next click on “Run the installation”.
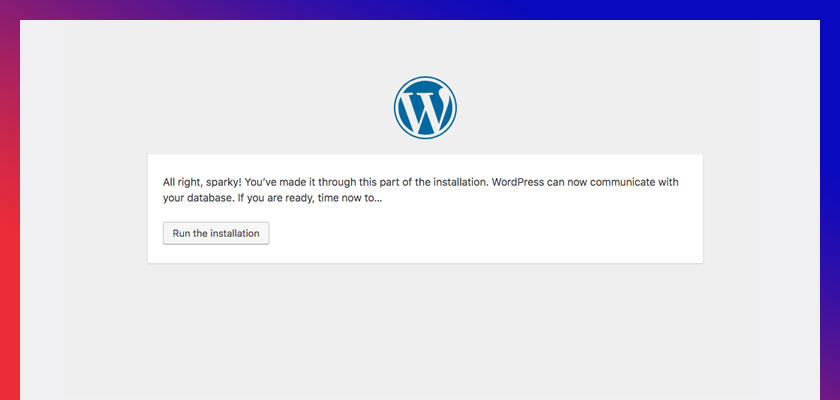
Submit your site title, username, password, and email address, then click on the Install WordPress button.

You have successfully installed WordPress website on your local computer. Login to the site now.
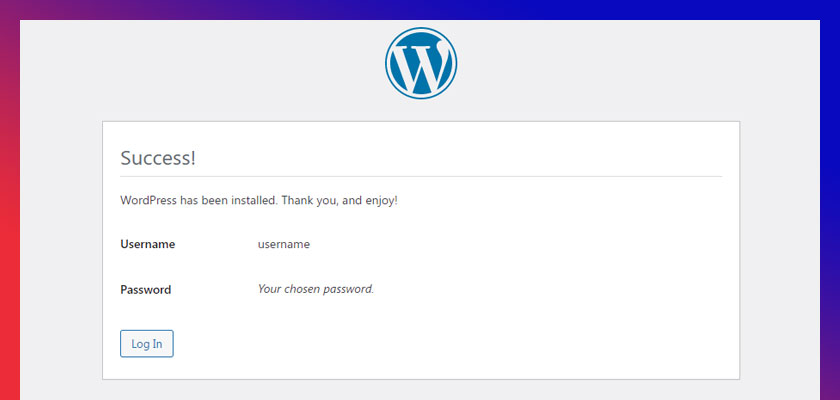
If you followed all the above mentioned steps carefully then you will be able to install WordPress website on your local system without any error.
Now that your WordPress is installed on your localhost, the first thing you will do is to select the themes for your WordPress.The layout of your website or blog is prepared with the theme of WordPress. Let us tell you how to integrate WordPress themes. By the way, there are many WordPress themes available. some of which are free and some are paid themes. For Premium themes, you can buy themes from marketplaces like Themeforest or Template Monsters. But here we will tell you to integrate the free theme for your blog.
First you go to your WordPress dashboard. On the left side you will see the Menu Bar. Out of this, you have to click in Appearance, there you will see the option of Theme, click on it.
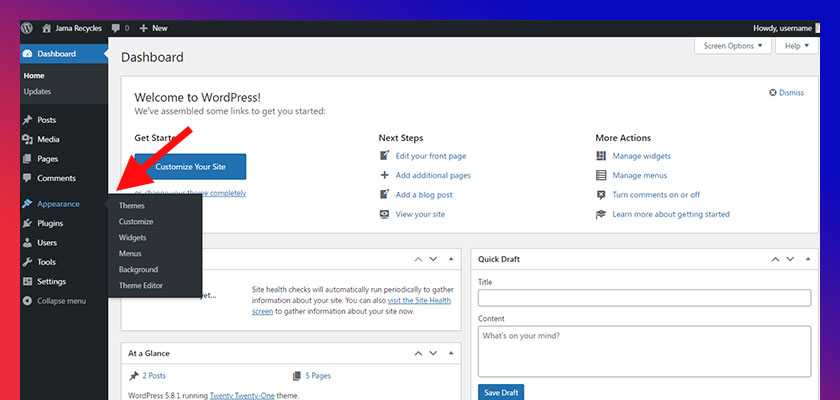
Here you will see some of the default pre-installed themes of WordPress. You can select one of these themes for your blog.

If you want to use any other theme then you have to click on add new button. By clicking on it, you will see many WordPress themes. You have to select any one team here according to your requirement.

You can also upload any of your premium themes or free themes by clicking on the upload theme button.You will also be able to see its live preview.
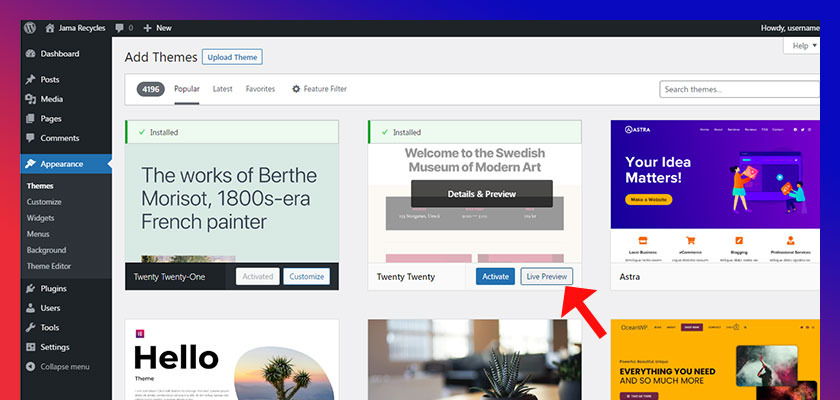
As an example, I am here to activate the Twenty Twenty One theme of WordPress. When you click on its customize button then you will see the layout like this-

Now the layout of your blog is visible in front of you. Along with this, options to customize the layout of this blog are visible in the left side. At the top it comes the name of the active theme which in our case is Twenty Twenty One. After this, the site identity in which you have to fill the title and tagline of your side. You can use your brand icon in the site icon.
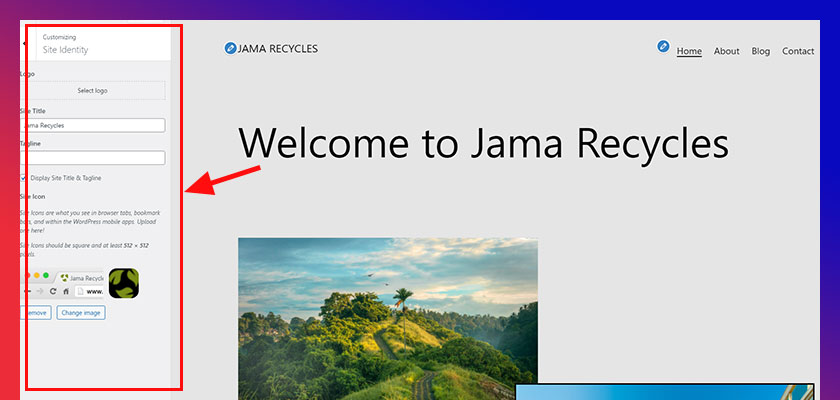
This is the static page of your blog. If you want your blog’s post to appear on your home page, then for that you have to go to Customize home page setting and check your latest post on your home page display.
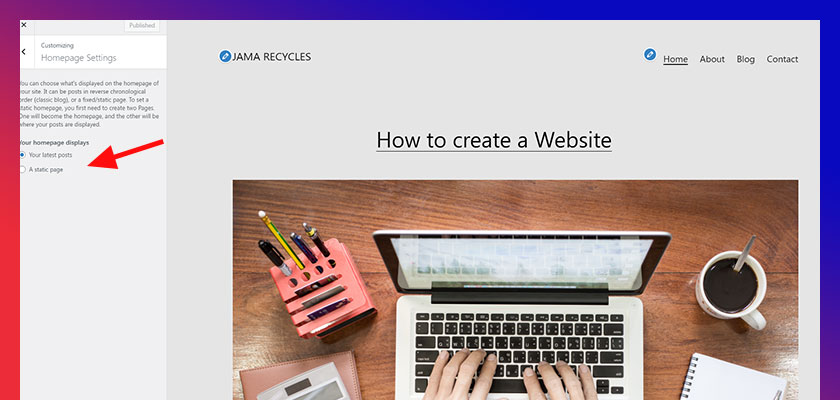
When you look at your theme, you will find that there is no blog post or any content available on the page, due to which you will see your blog as completely empty. The reason for this is that you have not yet entered any page content and blog post.
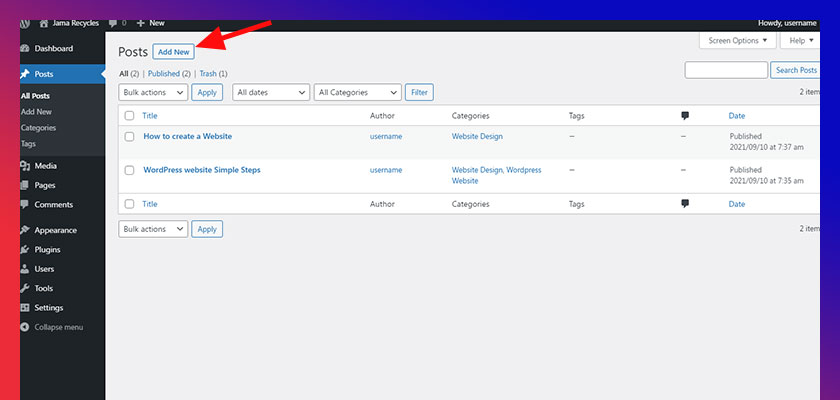
To post a blog, first you have to go to the post button in the menu bar on the left side and click on it. On this you will see a button of Add New. You can create your own post by clicking on the Add New button.

Enter the title and content of your post in the given input fields. Now on the right side, click on the setting given to allow paramalink, category, featured image of the post, tag and comment.
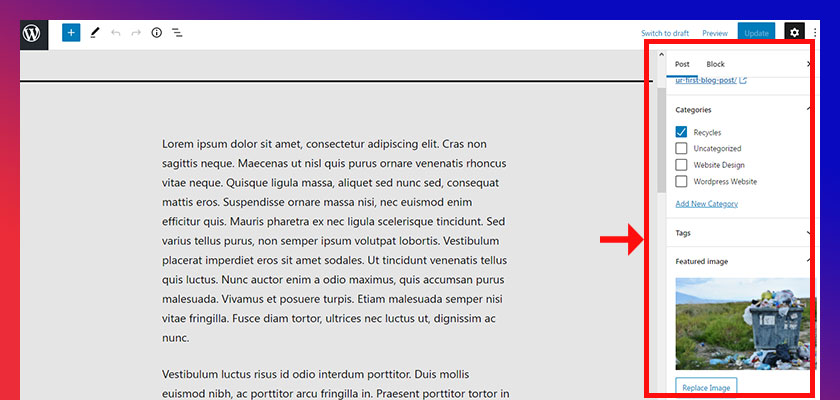
After making all the necessary settings, click on the Public button on the top right side. Wow your first blog post is ready. Click on the preview button to view.

This is how you can create all your posts. Similarly, by clicking on the Pages tab in the left side menu, you can add content to the page and page’s to the blog.

Just like when you put a post on your blog, then your blog will look very nice, apart from this, you can make your blog beautiful by doing a lot of experimentation from your side.
For next step please continue reading –
WordPress Plugin – Essential WordPress Plugin for Your Website Growth